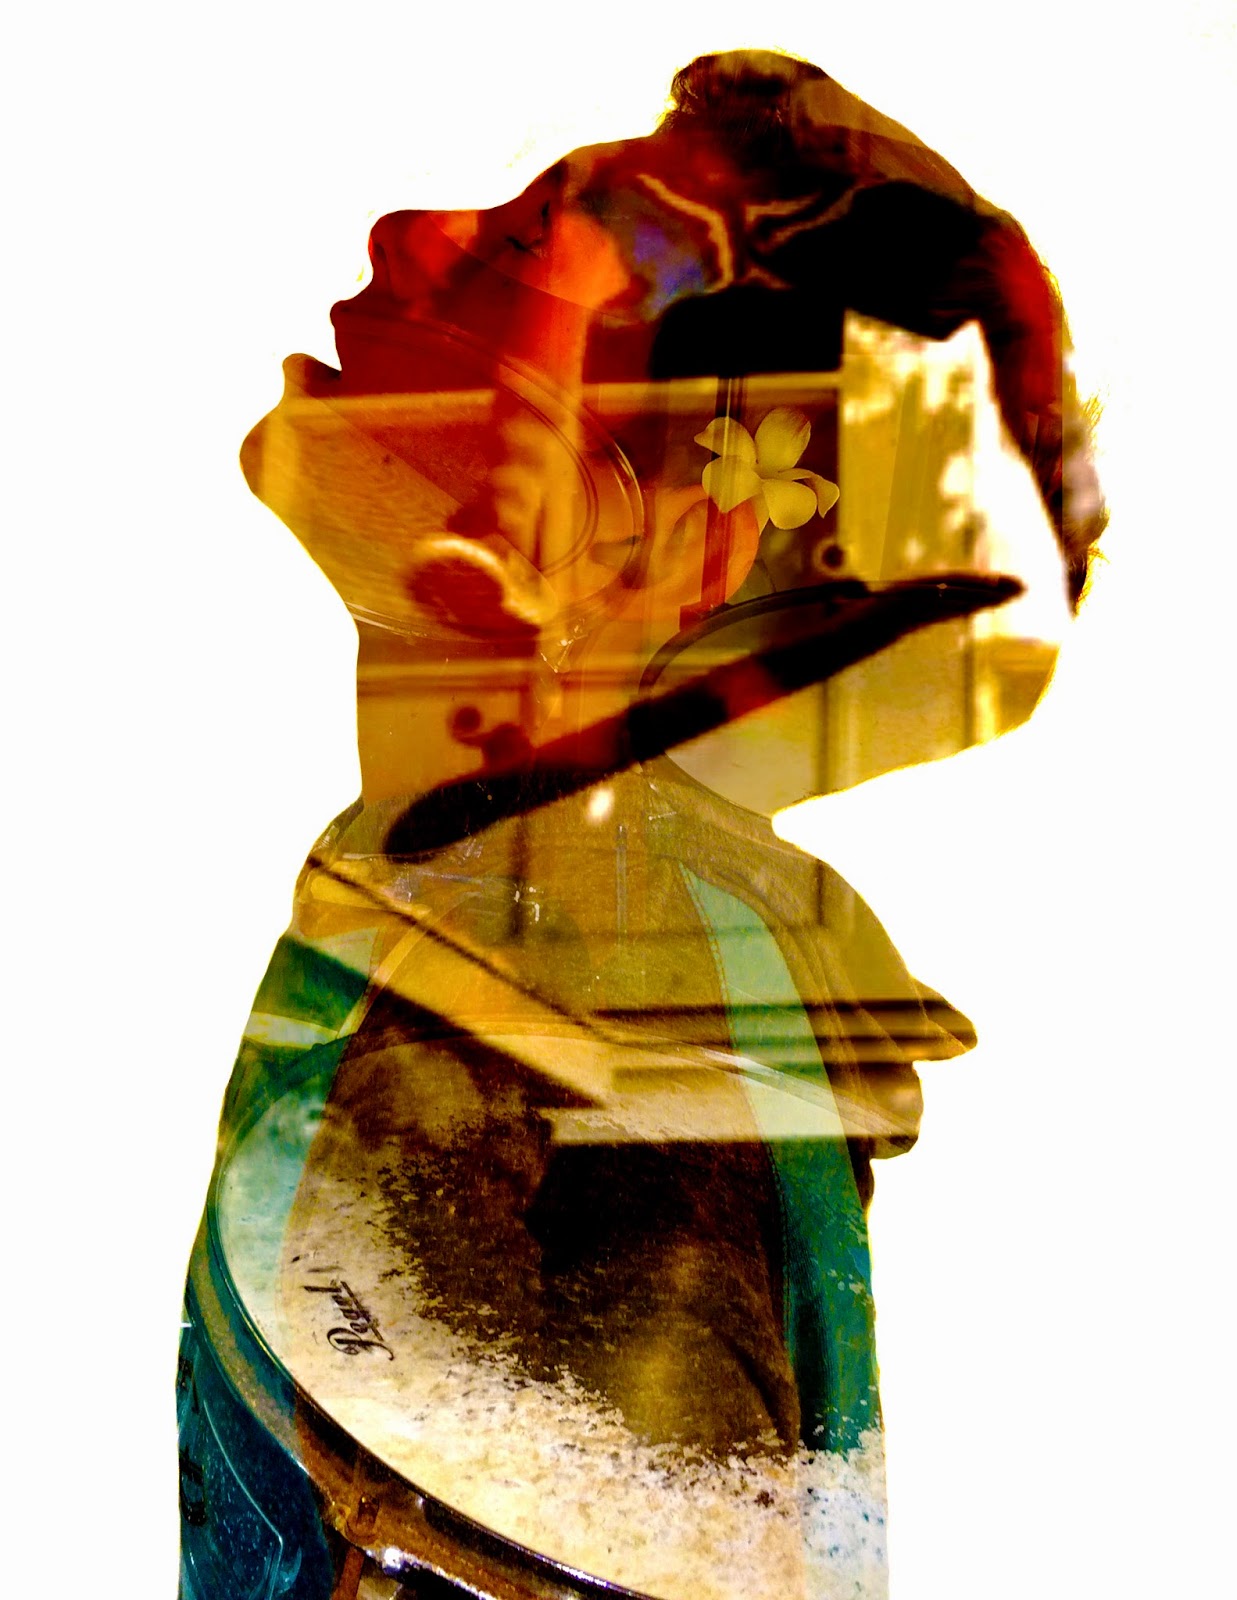
When creating a double exposure image in photoshop, first you need to take your photos. One photo of you or your friend. Next, you'll need 2 photos of nature, like trees or other plants. Now, I'll explain the process through the following steps. Step 1: Take your images. Step 2: Download them to your computer. Step 3: Open photoshop and click "file". Next, click on "scripts", and then click "load files into stack". Step 4: Use the "dodge tool" to make the background of the portrait image all one color, usually white. Step 5: Once you have used the dodge tool to create the white background, you double click on one layer to get the "blending options". When you are there, you will go to "blend mode" and change it to "screen". After doing that, all of your photos will combine into one. From there you can move them around, add layer effects and make it as cool, colorful and beautiful as you can. I would want to make a double or multi exposure image because they are very beautiful and express many feelings in different ways. I love making these and looking at them because of all of the colors and designs within the portrait.
The images within my portrait symbolize what I like to do or my hobbies. For my final, or multi exposure image, I took photos of me skateboarding and my drumset. I love to do both of these things so I put them in to represent me. For the practice I had my portrait and two pictures of plants and trees. The left one is my practice and the right one is my final. If I did this project again, I think that I would take different photos. I say this because, although they are good photos, when they blend into my portrait, I think it looks kind of boring. I would like to have more detailed of pictures to cover up the open space of my face. I could have also added and experimented with more effects to make the colors really pop. I used a lot of curve effects, vibrance and saturation to get my outcome. I am satisfied with my work however it could have been a little better.


